
I have been taking pictures for the last 8 years but haven’t taken photography as a profession. I like it to be a hobby.
There are a few basic points you should consider before you click the shutter button. These will hold good for any camera you have. For better understanding of each point that is discussed later, I have given illustrations (as and when possible) along with adding pictures where I have goofed up so that it will be a learning for you.
So, lets begin with basic set of 7 questions.
- What do I want the viewer to see?
- How do I want the subject to be portrayed?
- Have i covered the entire subject in the frame?
- Is this the right place to click?
- Have I held the camera right?
- Where is the primary source of light coming from? Is that how I want it to be?
- Can I make a relation between the subject and the way I am framing it?
Let us dig through these points in a line or two just to undertsand what I mean and how that will help.
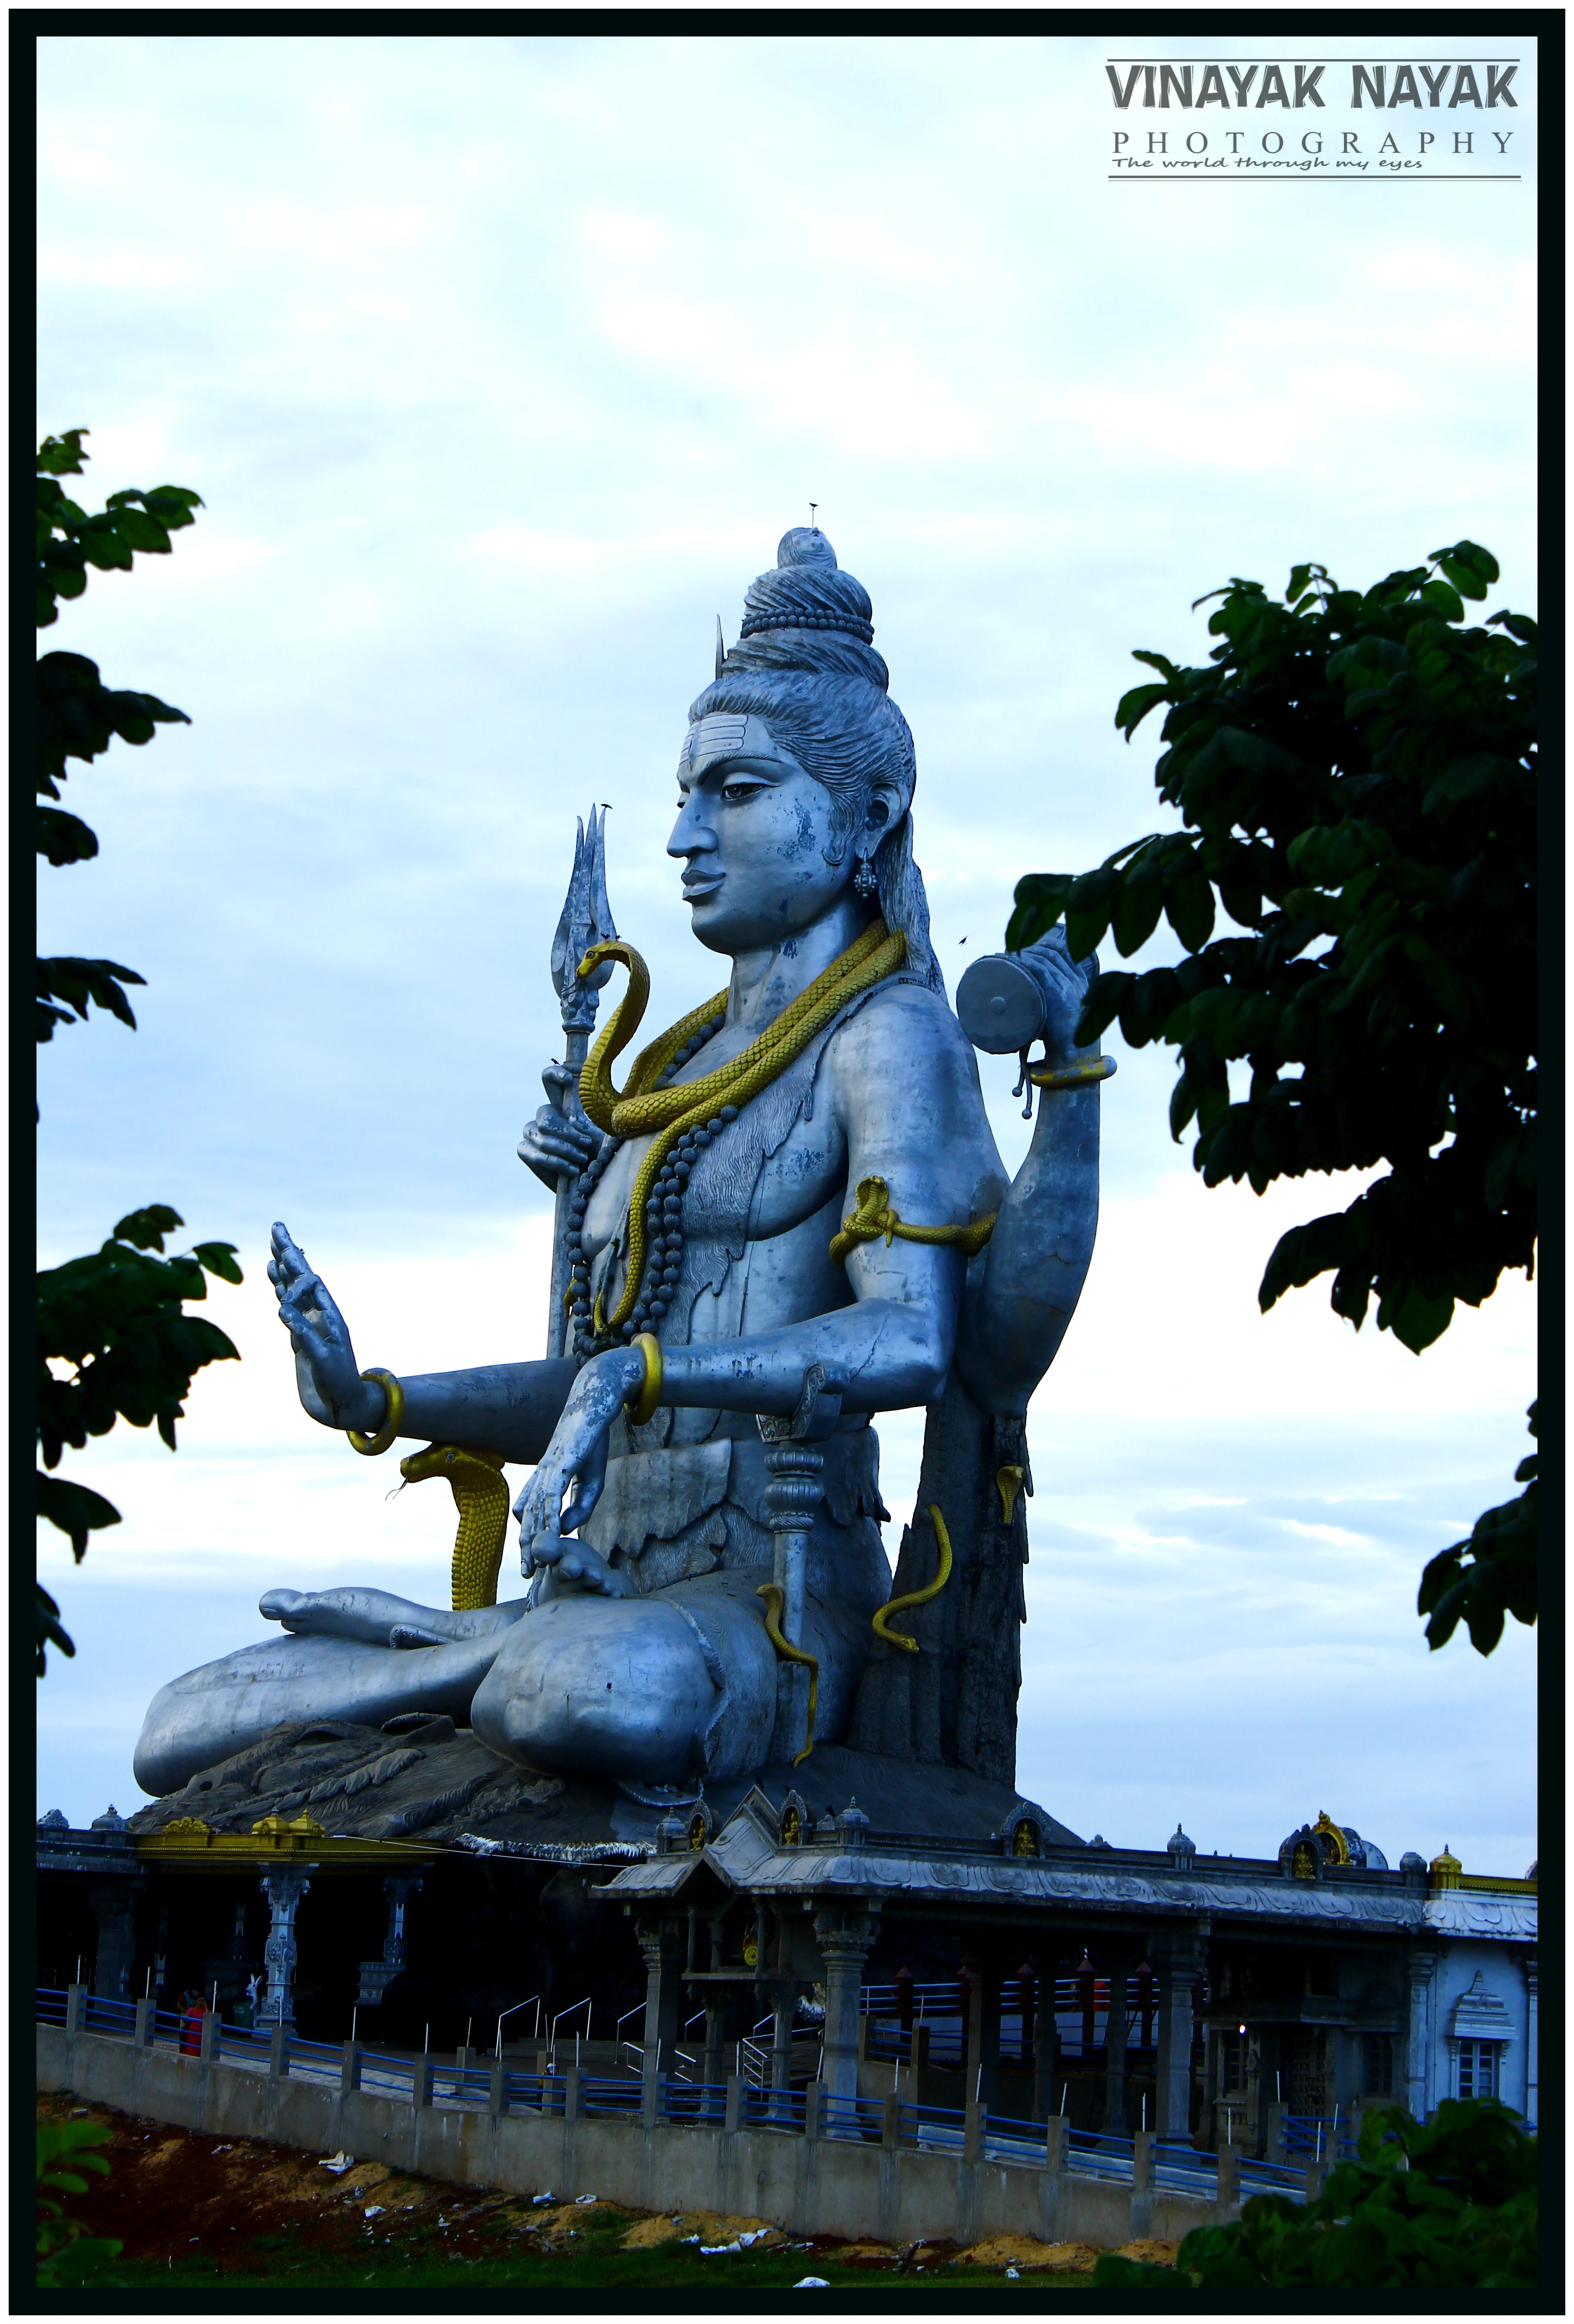
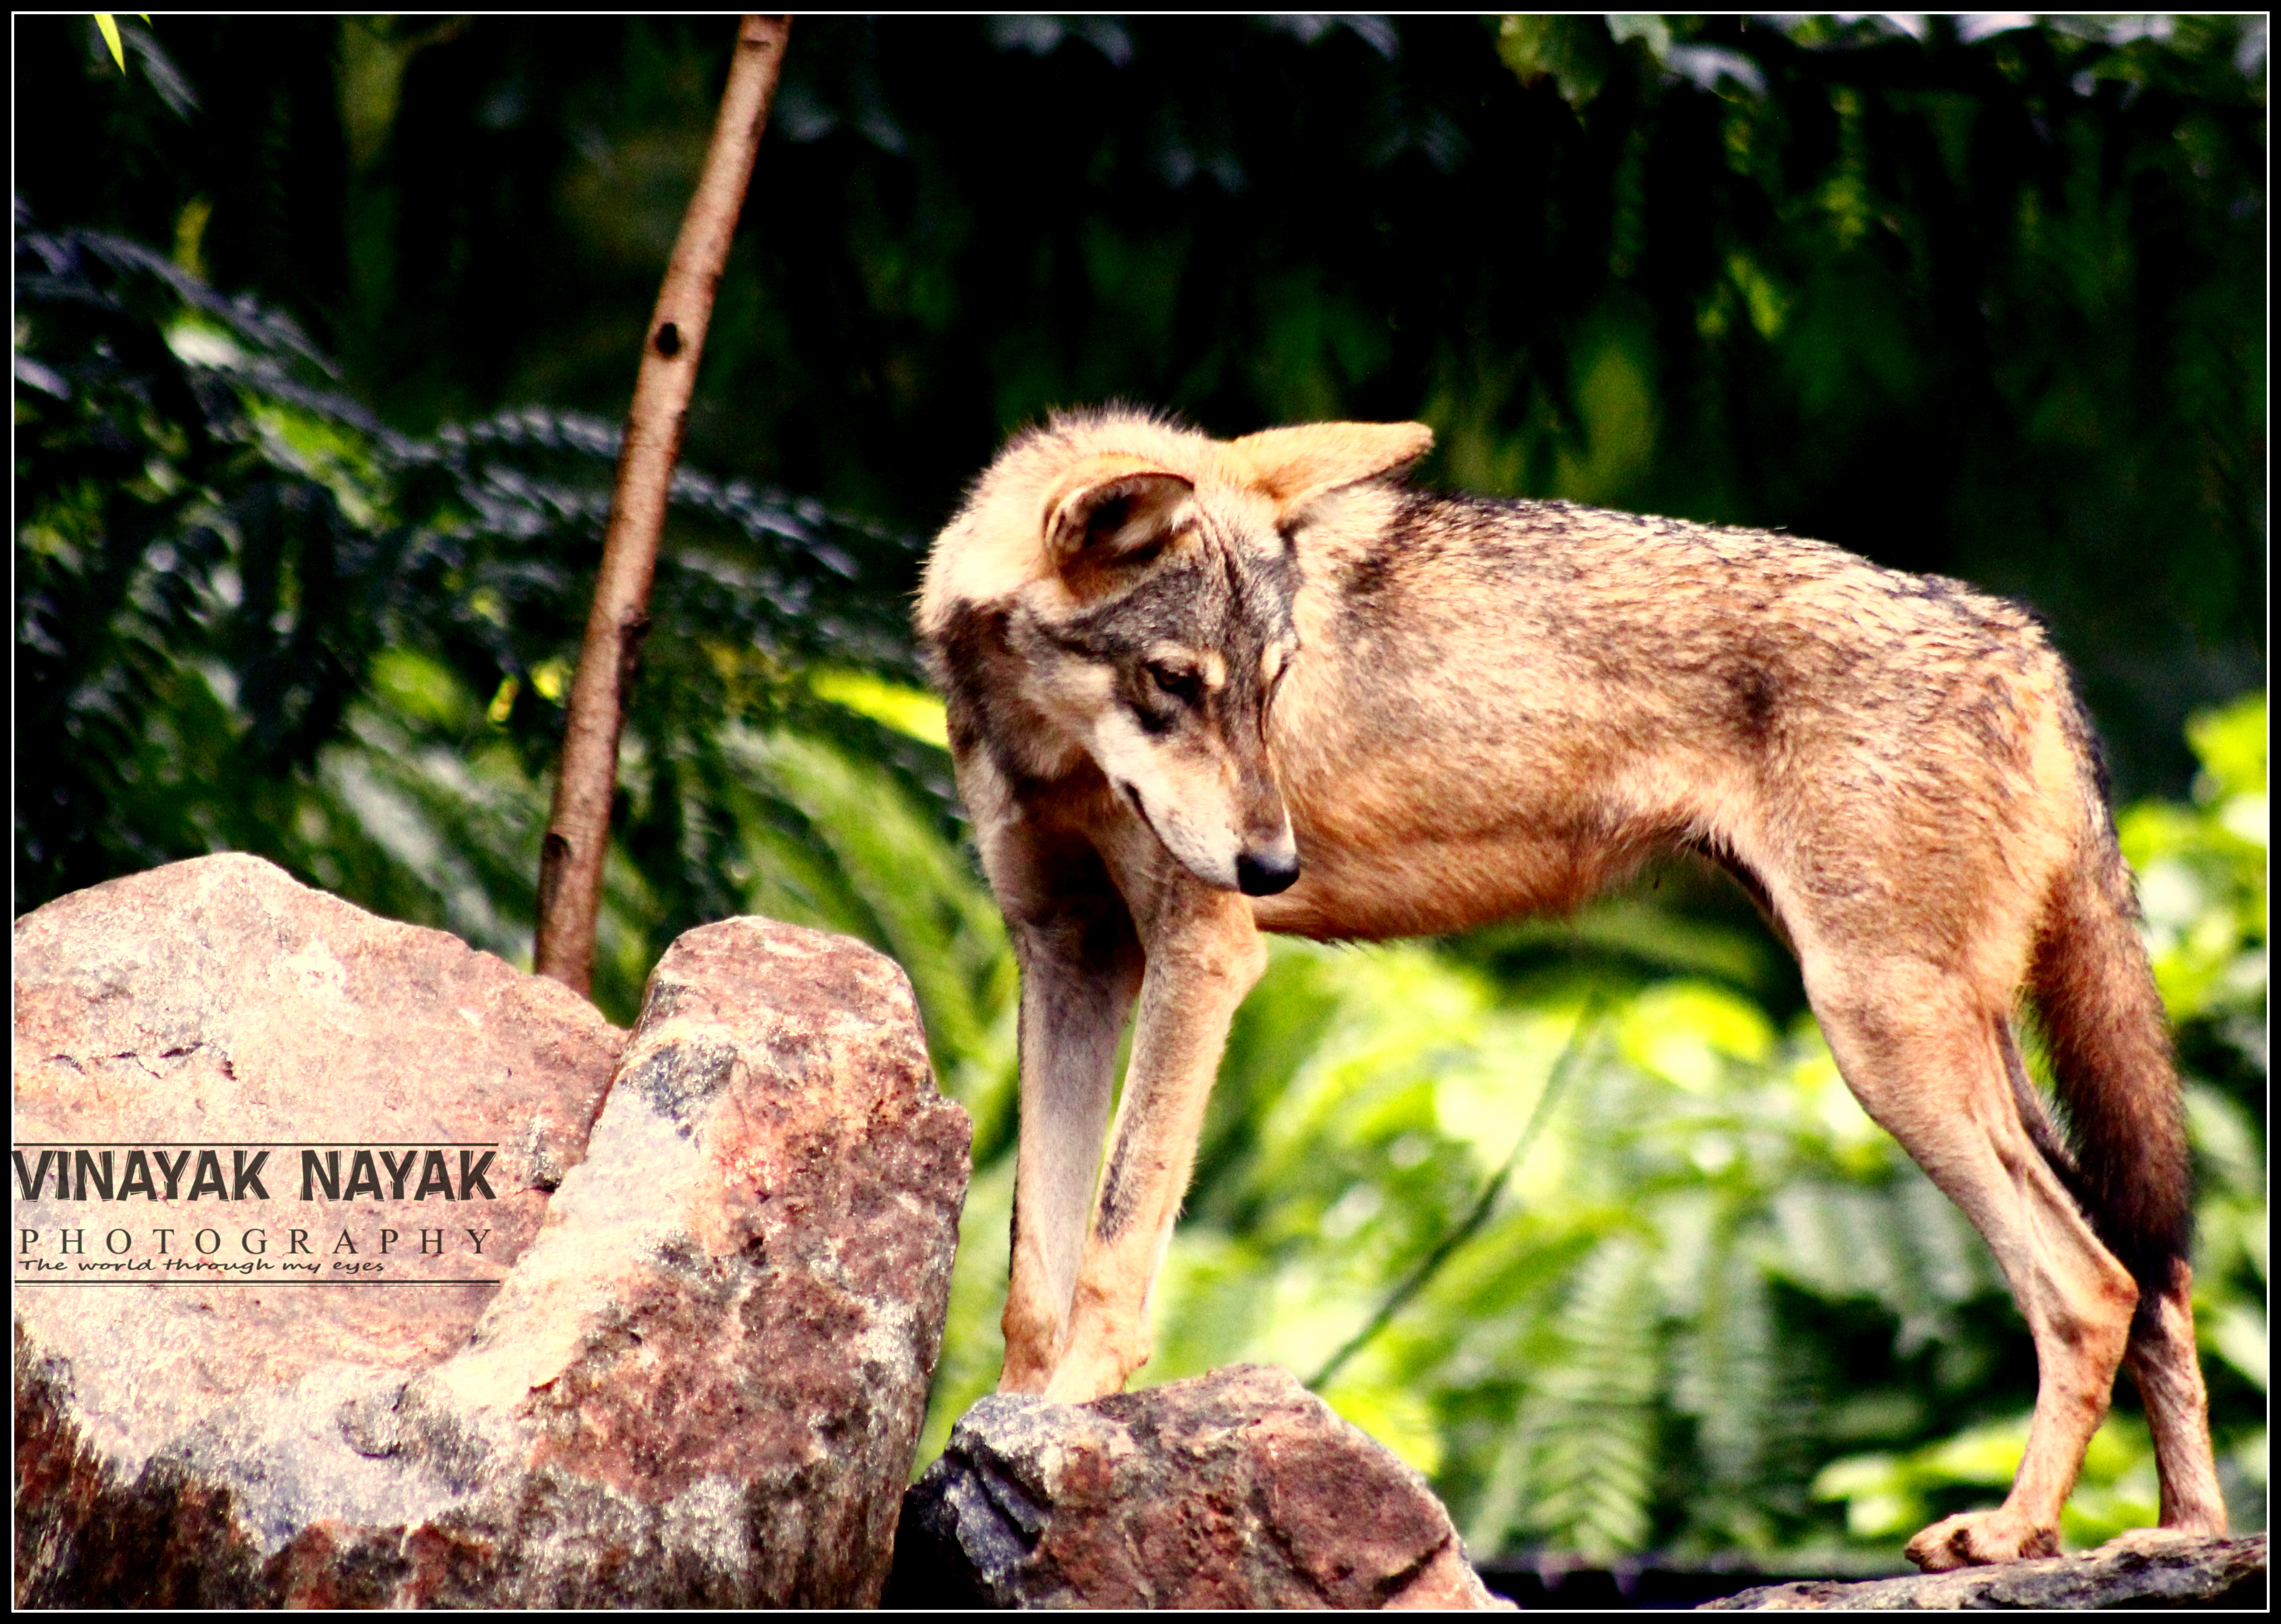
I. Focus on subject
Of course I know you wouldn’t click a dog when you want the viewer to see a monkey. Having said that, it would be better to consider what needs to be in the frame and what not. Check what is filling the frame. When you look at the picture, is the subject really evident? Will the viewer first look at the subject and then the background/foreground?

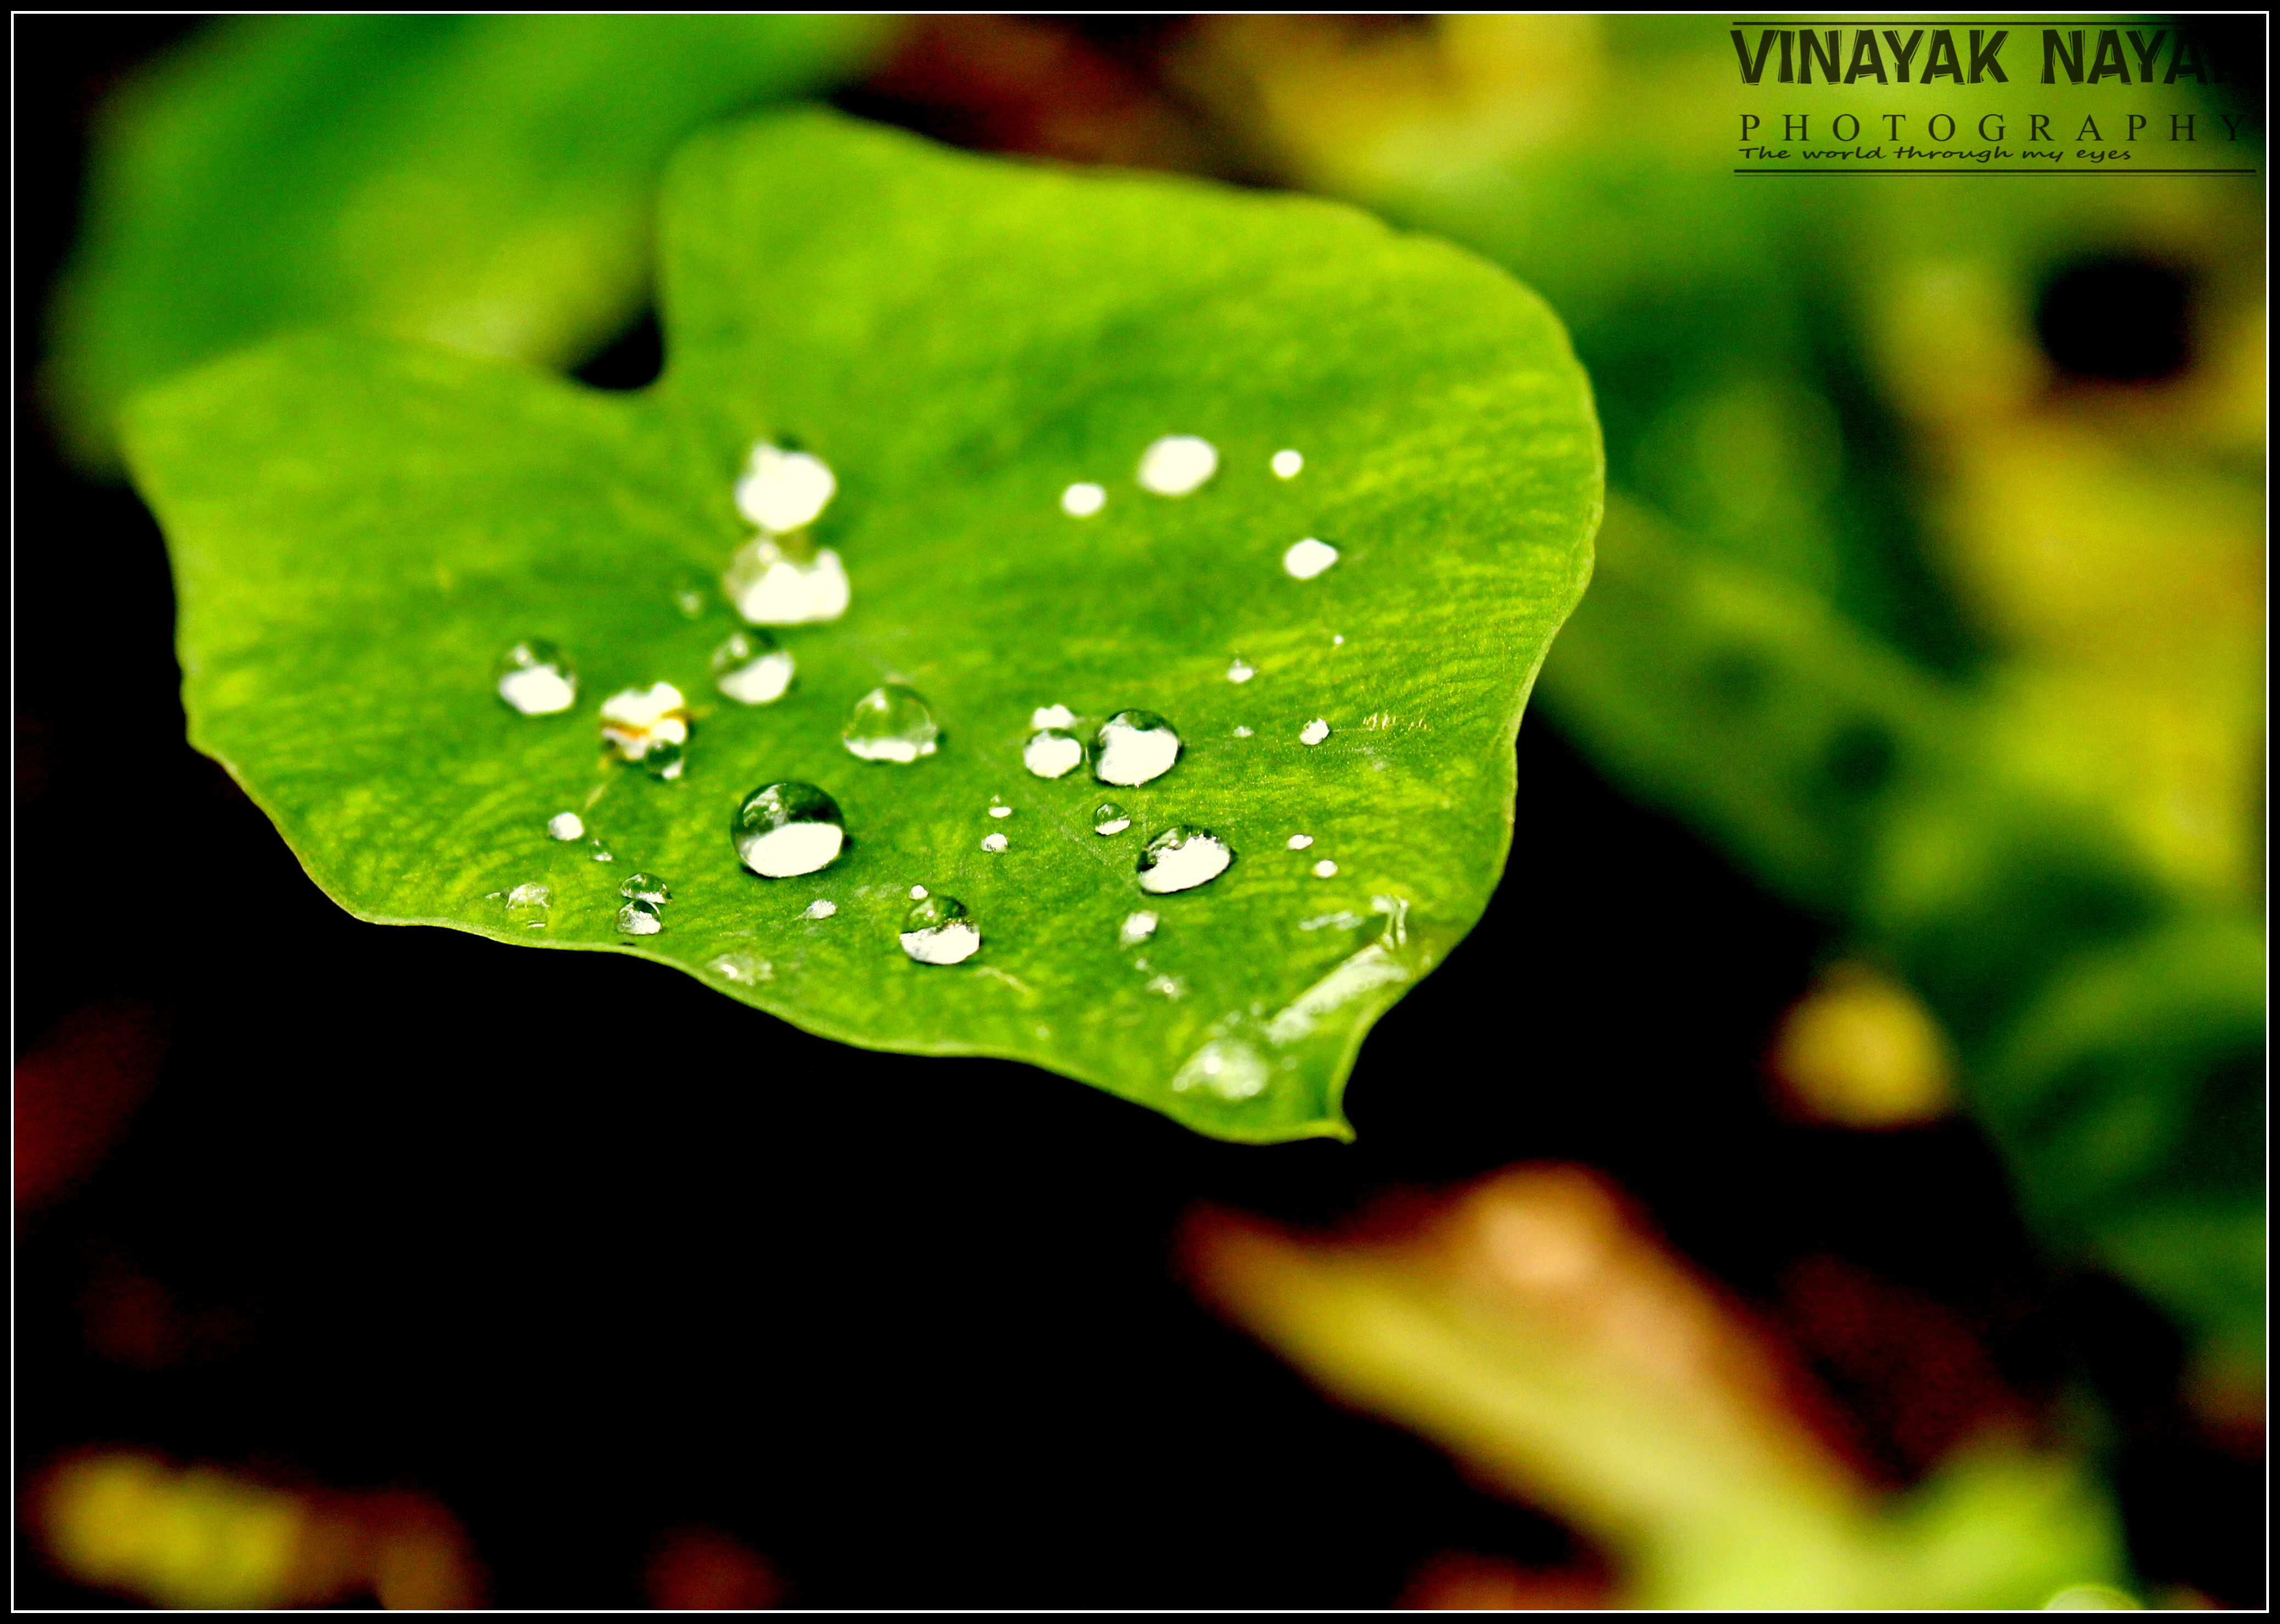
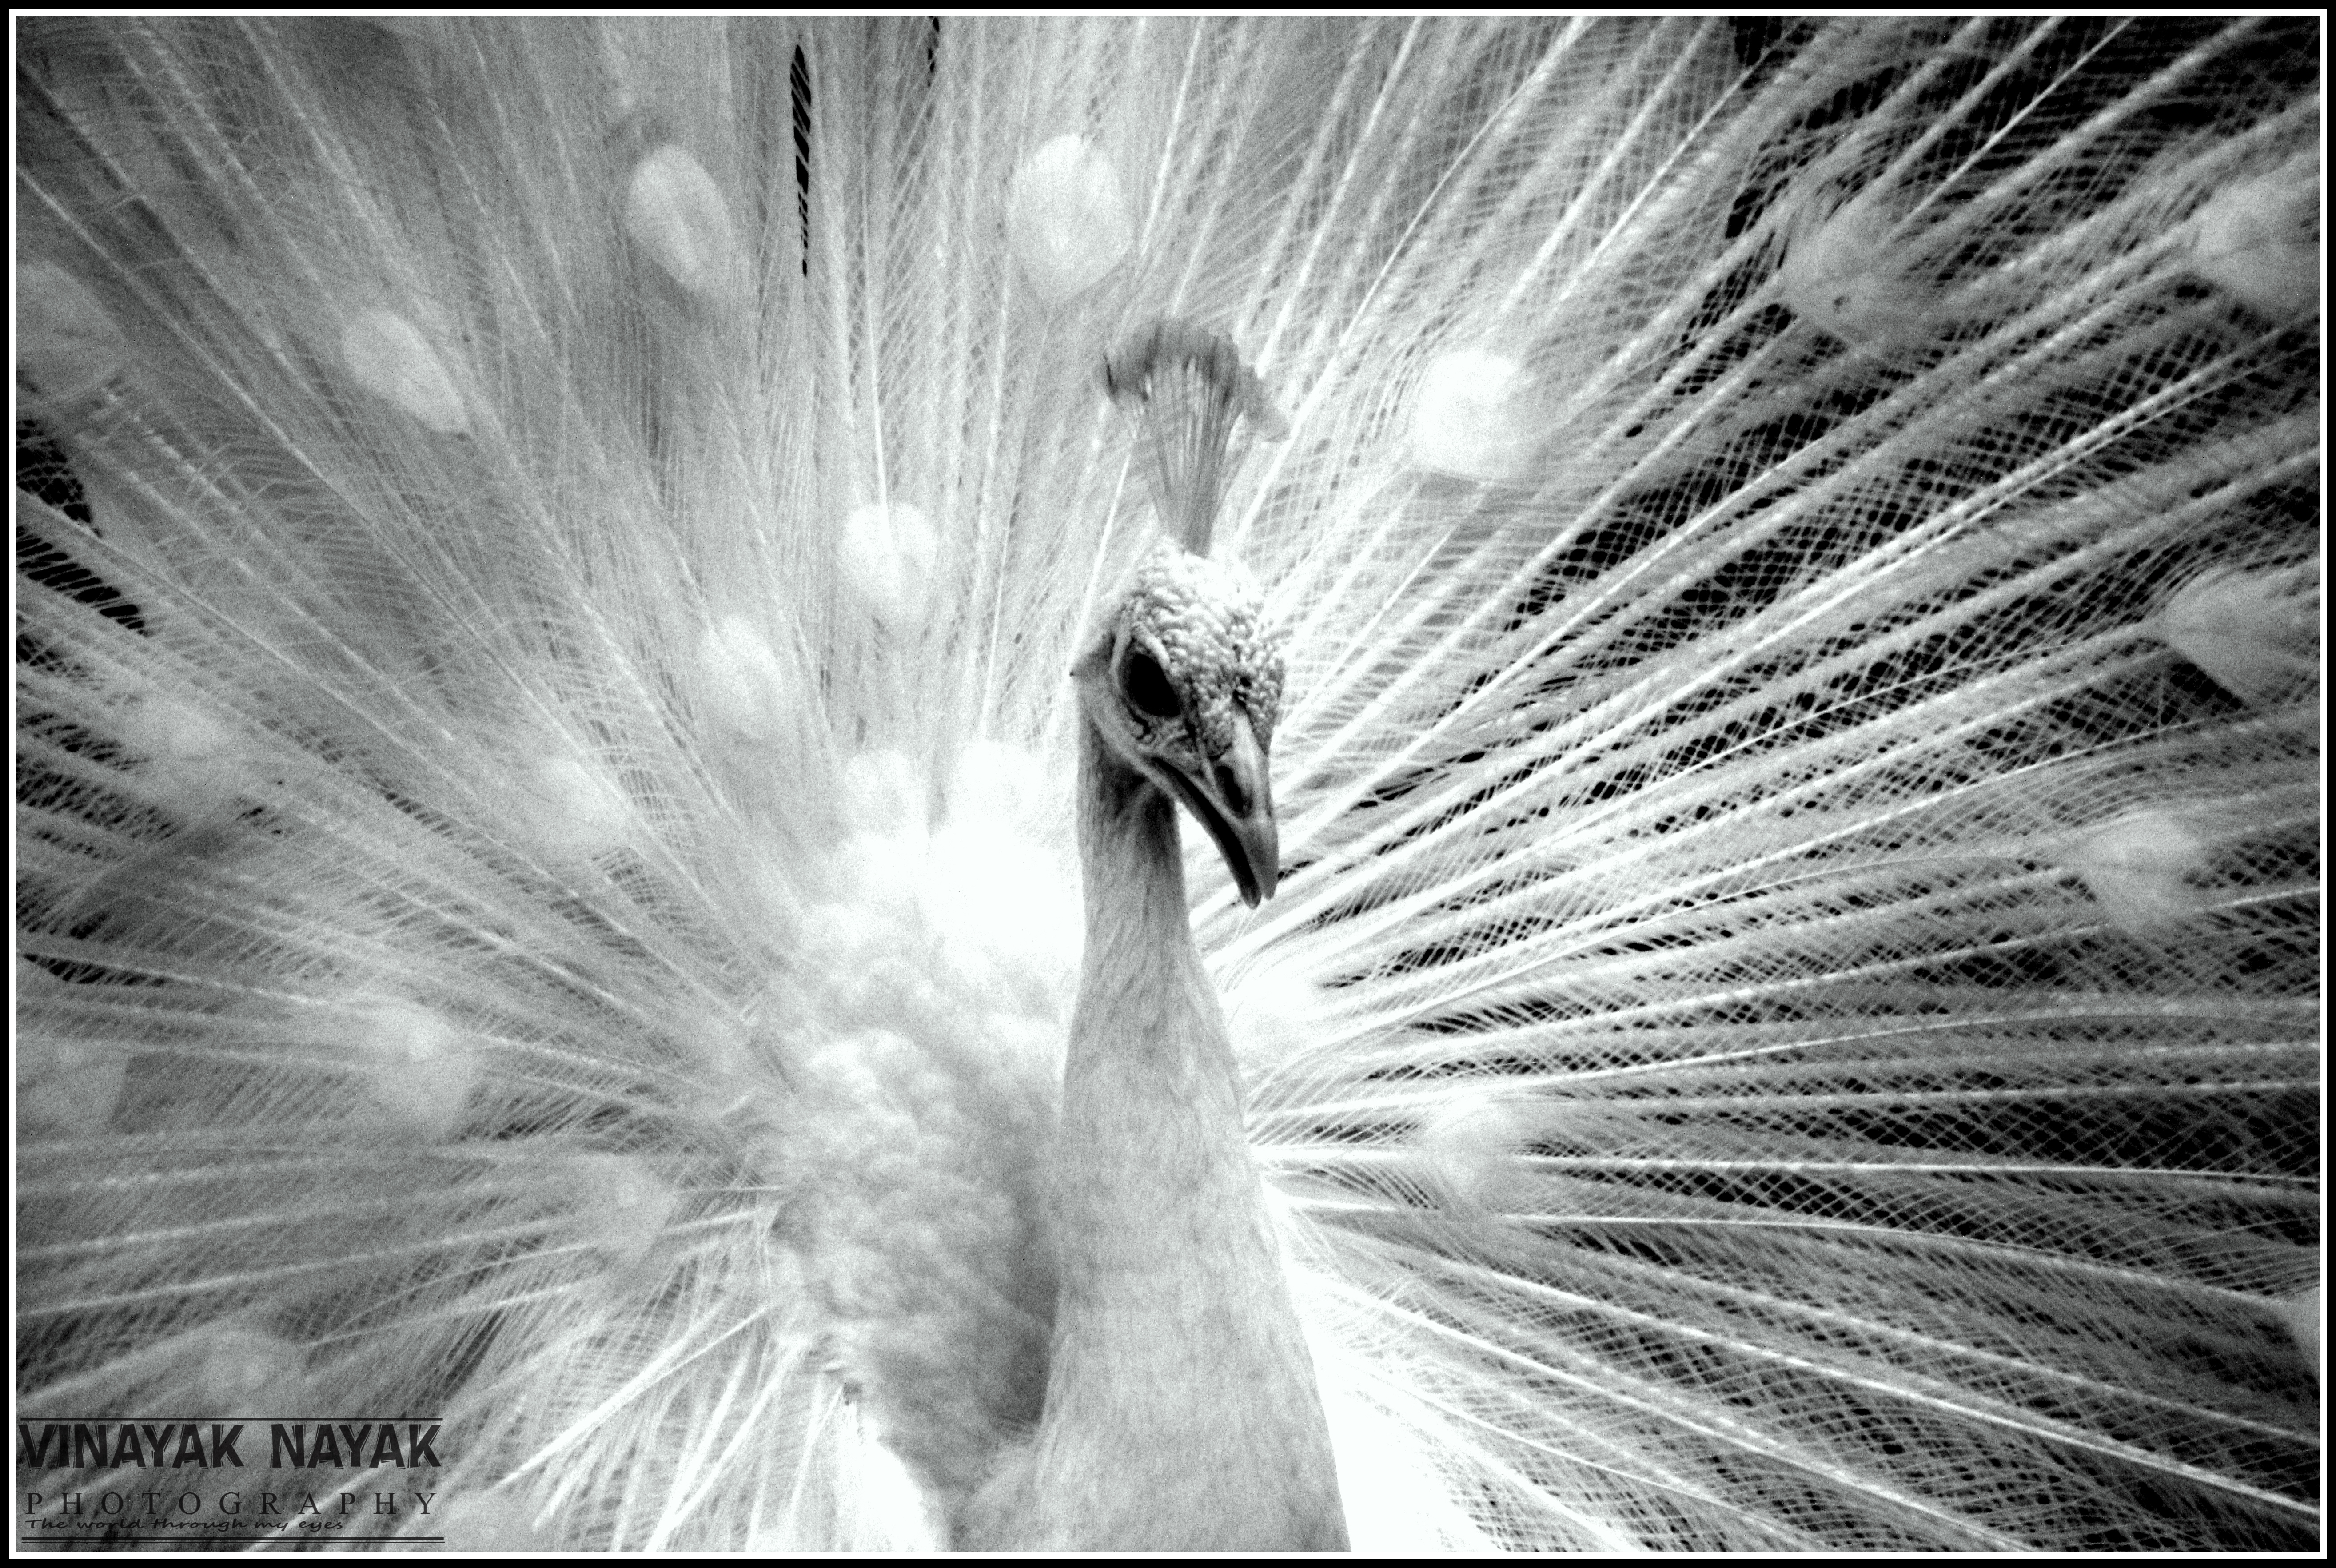
II. Focus on “what you want your viewers to see”
When you look at a subject, be sure that everyone will see it. The difference in you seeing it is HOW you see it. Bring that difference on the frame. That would basically establish your creativity as a brand. For example, when you see morning dews, someone may capture the the drops on multiple leaves, throwing light on the beauty of the place in the morning or a just after rain frame. But you might want to show just 1 leaf with a few drops to give the viewer an image of the leaf wearing the droplets like jewels.

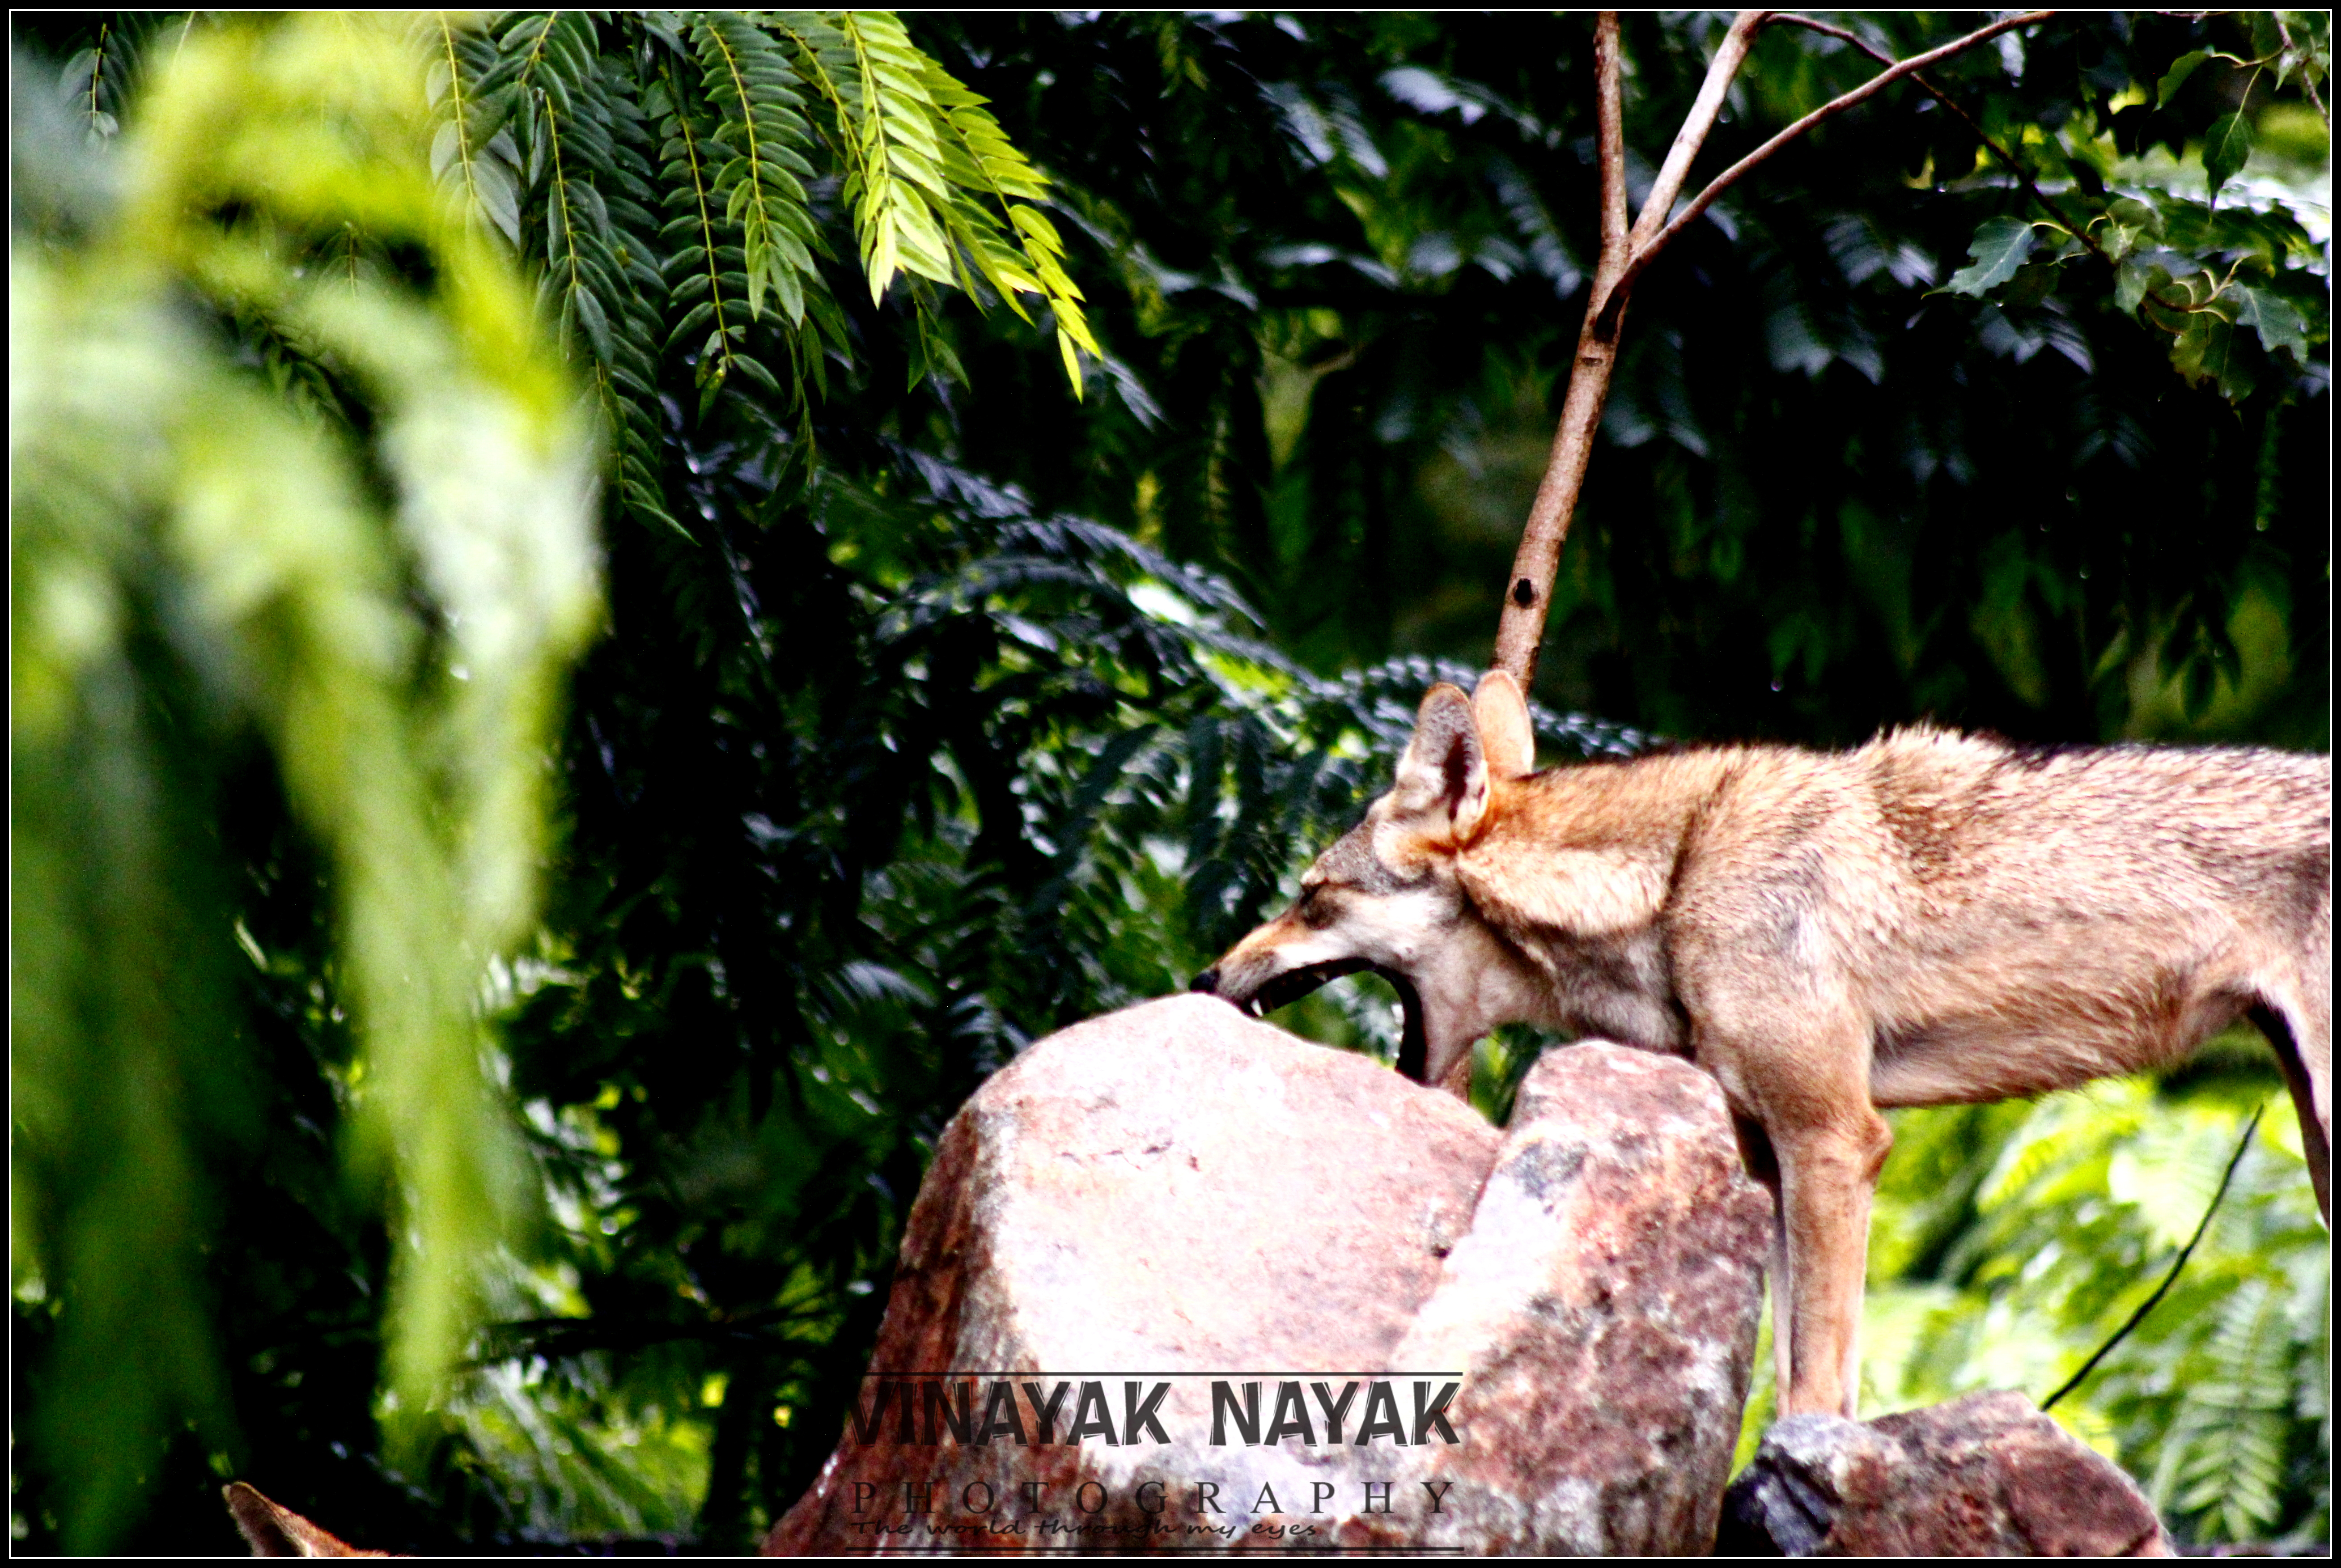
III. Focus on “what is in the frame and what is not”
Every clear picture might not be a good picture. I have come across pics on the internet where the photographer has done a lot of hard work and managed to capture the entire drama of a cheetah chasing a wild-hog but missed out to bring the cheetah’s tail in frame. What a loss! Having said that it doesn’t mean you shouldn’t crop a view at all. You might want to do it sometimes to concentrate your viewers attention. Just be sure of what you want in the frame.
IV. Stability
Make sure you are on a solid ground so that there is no shake when you click or at times you can even check for places where you might get a better view/frame. Be open to try multiple shots, from multiple places to suit your framing.

V. Tilt or no tilt?
Very important. Check the sides of the frame to make sure you are holding the camera right. I have seen a lot of pics of sunsets, seashores where people have done an amazing job in capturing the right colours, or silhouettes but the lack of attention to the position has made the image go tilted spoiling it, completely. I wouldn’t say you shouldn’t take a diagonal shot at all but be sure of it when you do it and make it evident in the image.
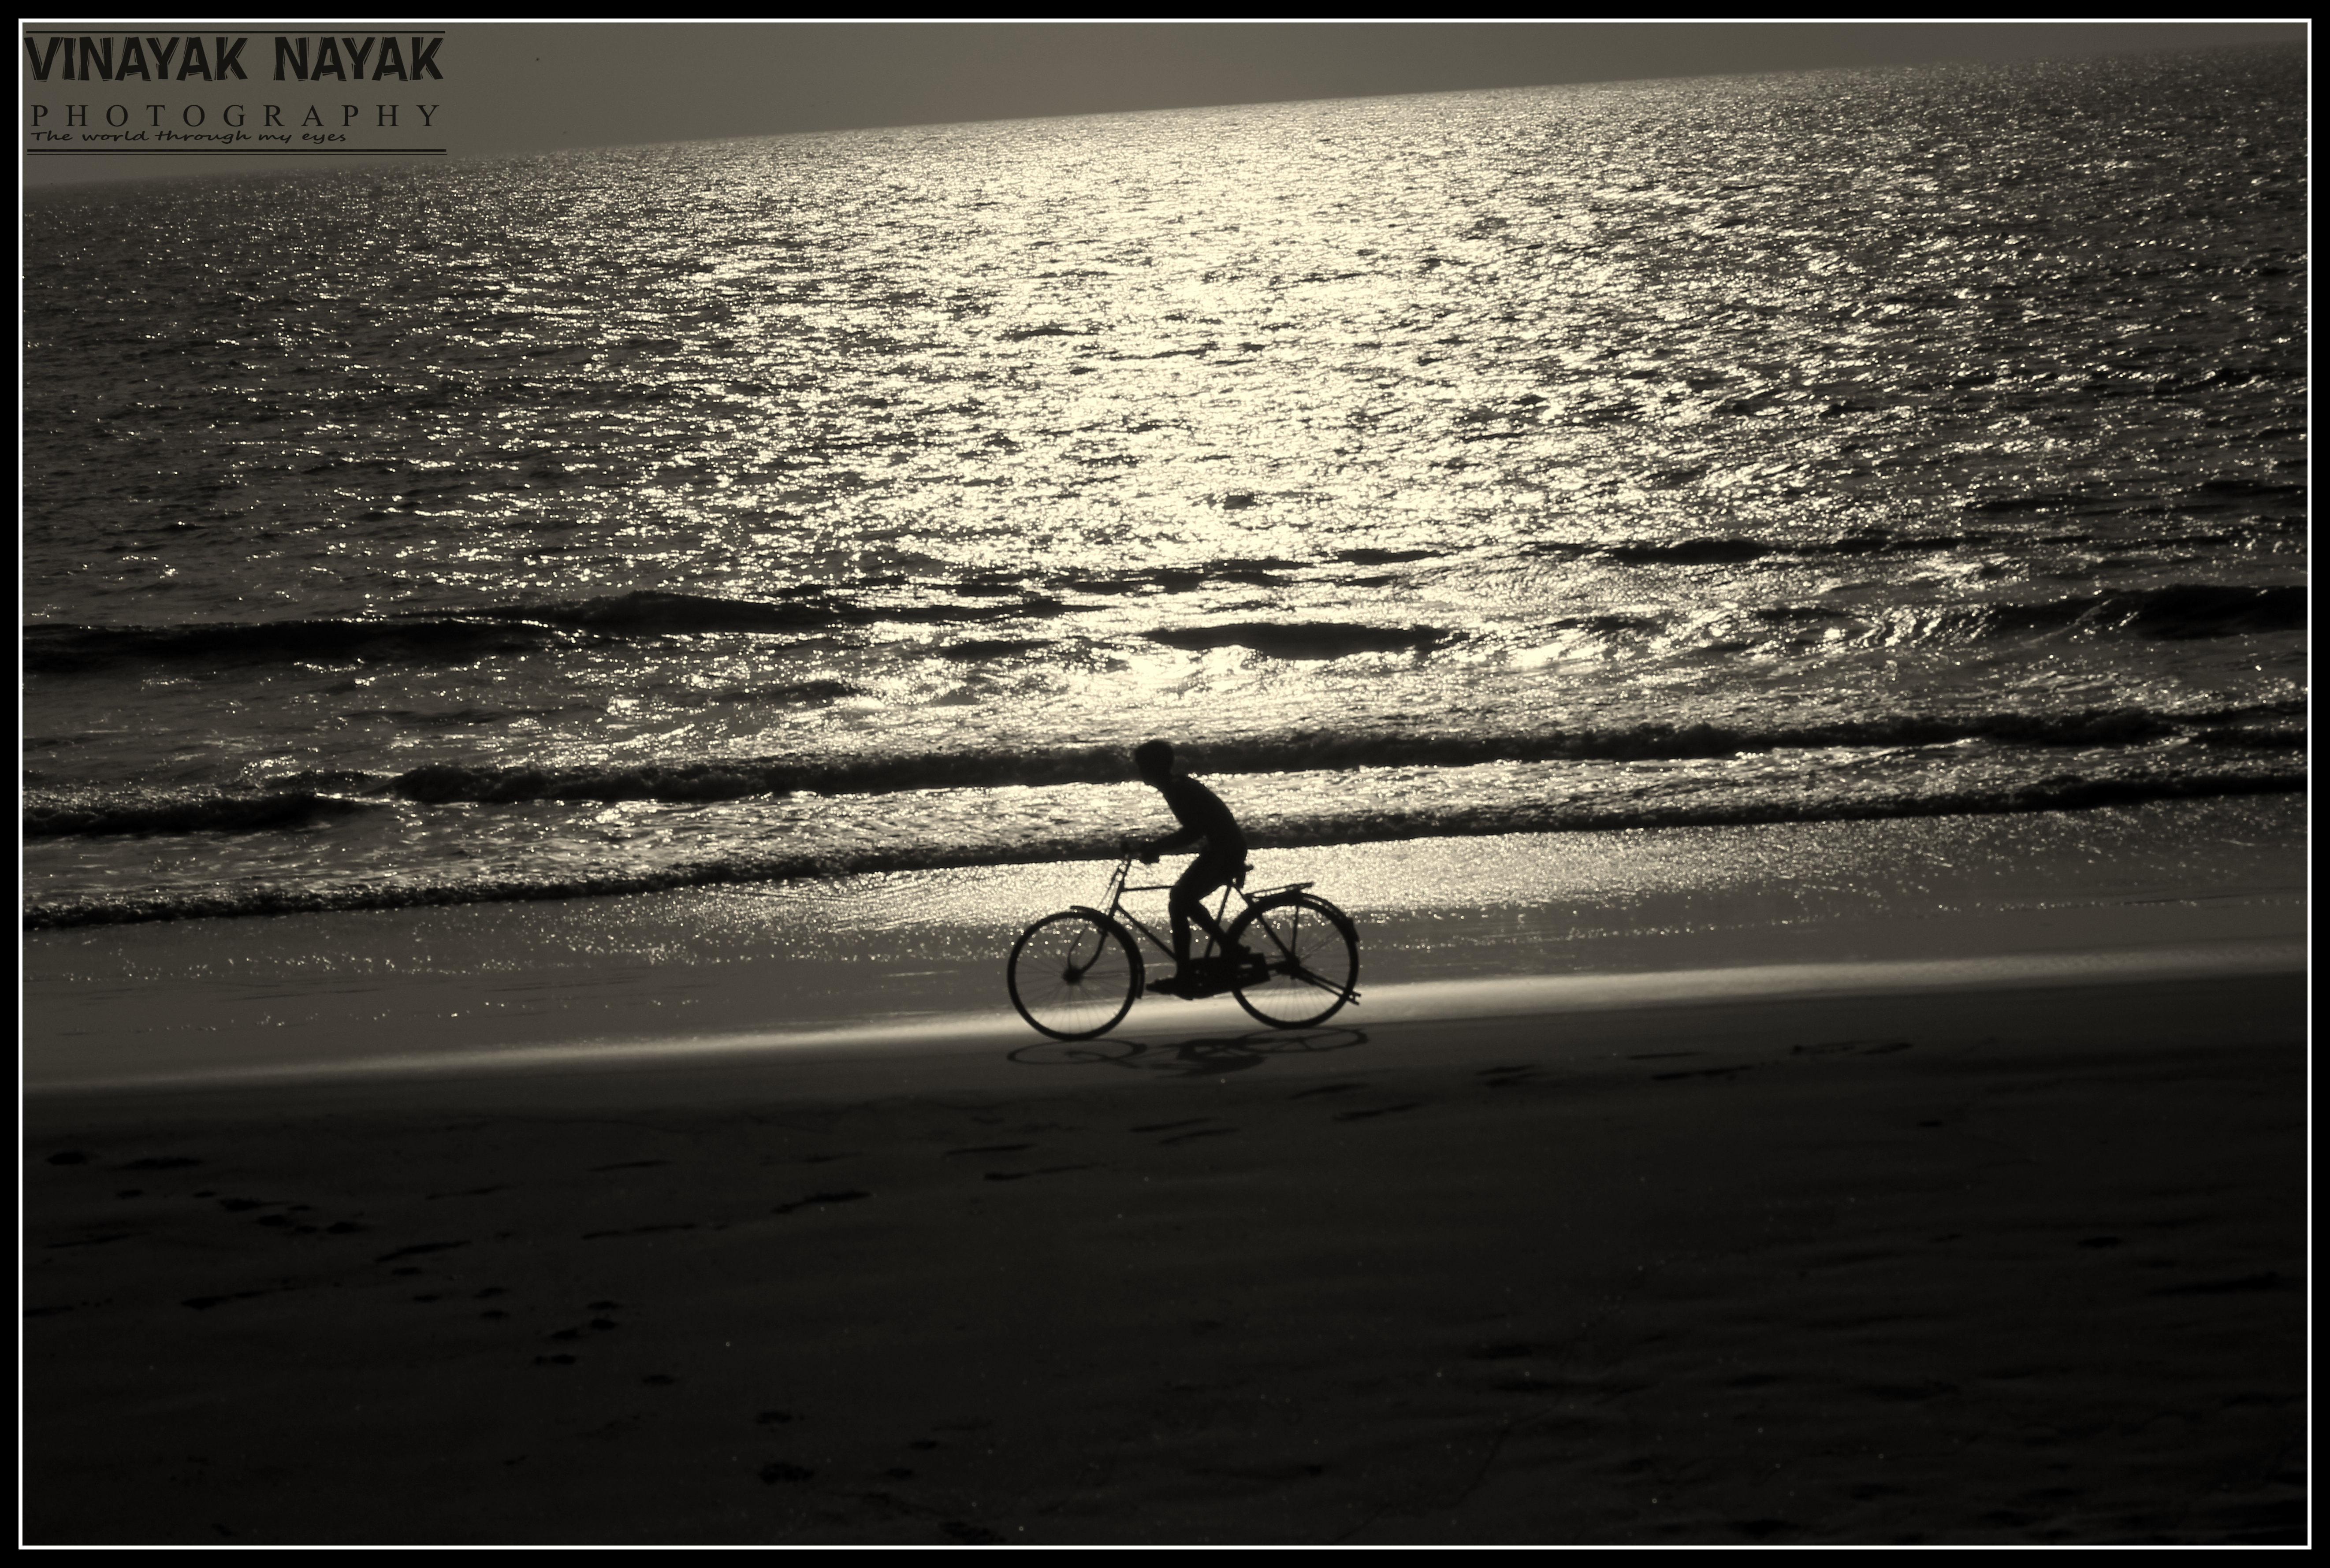
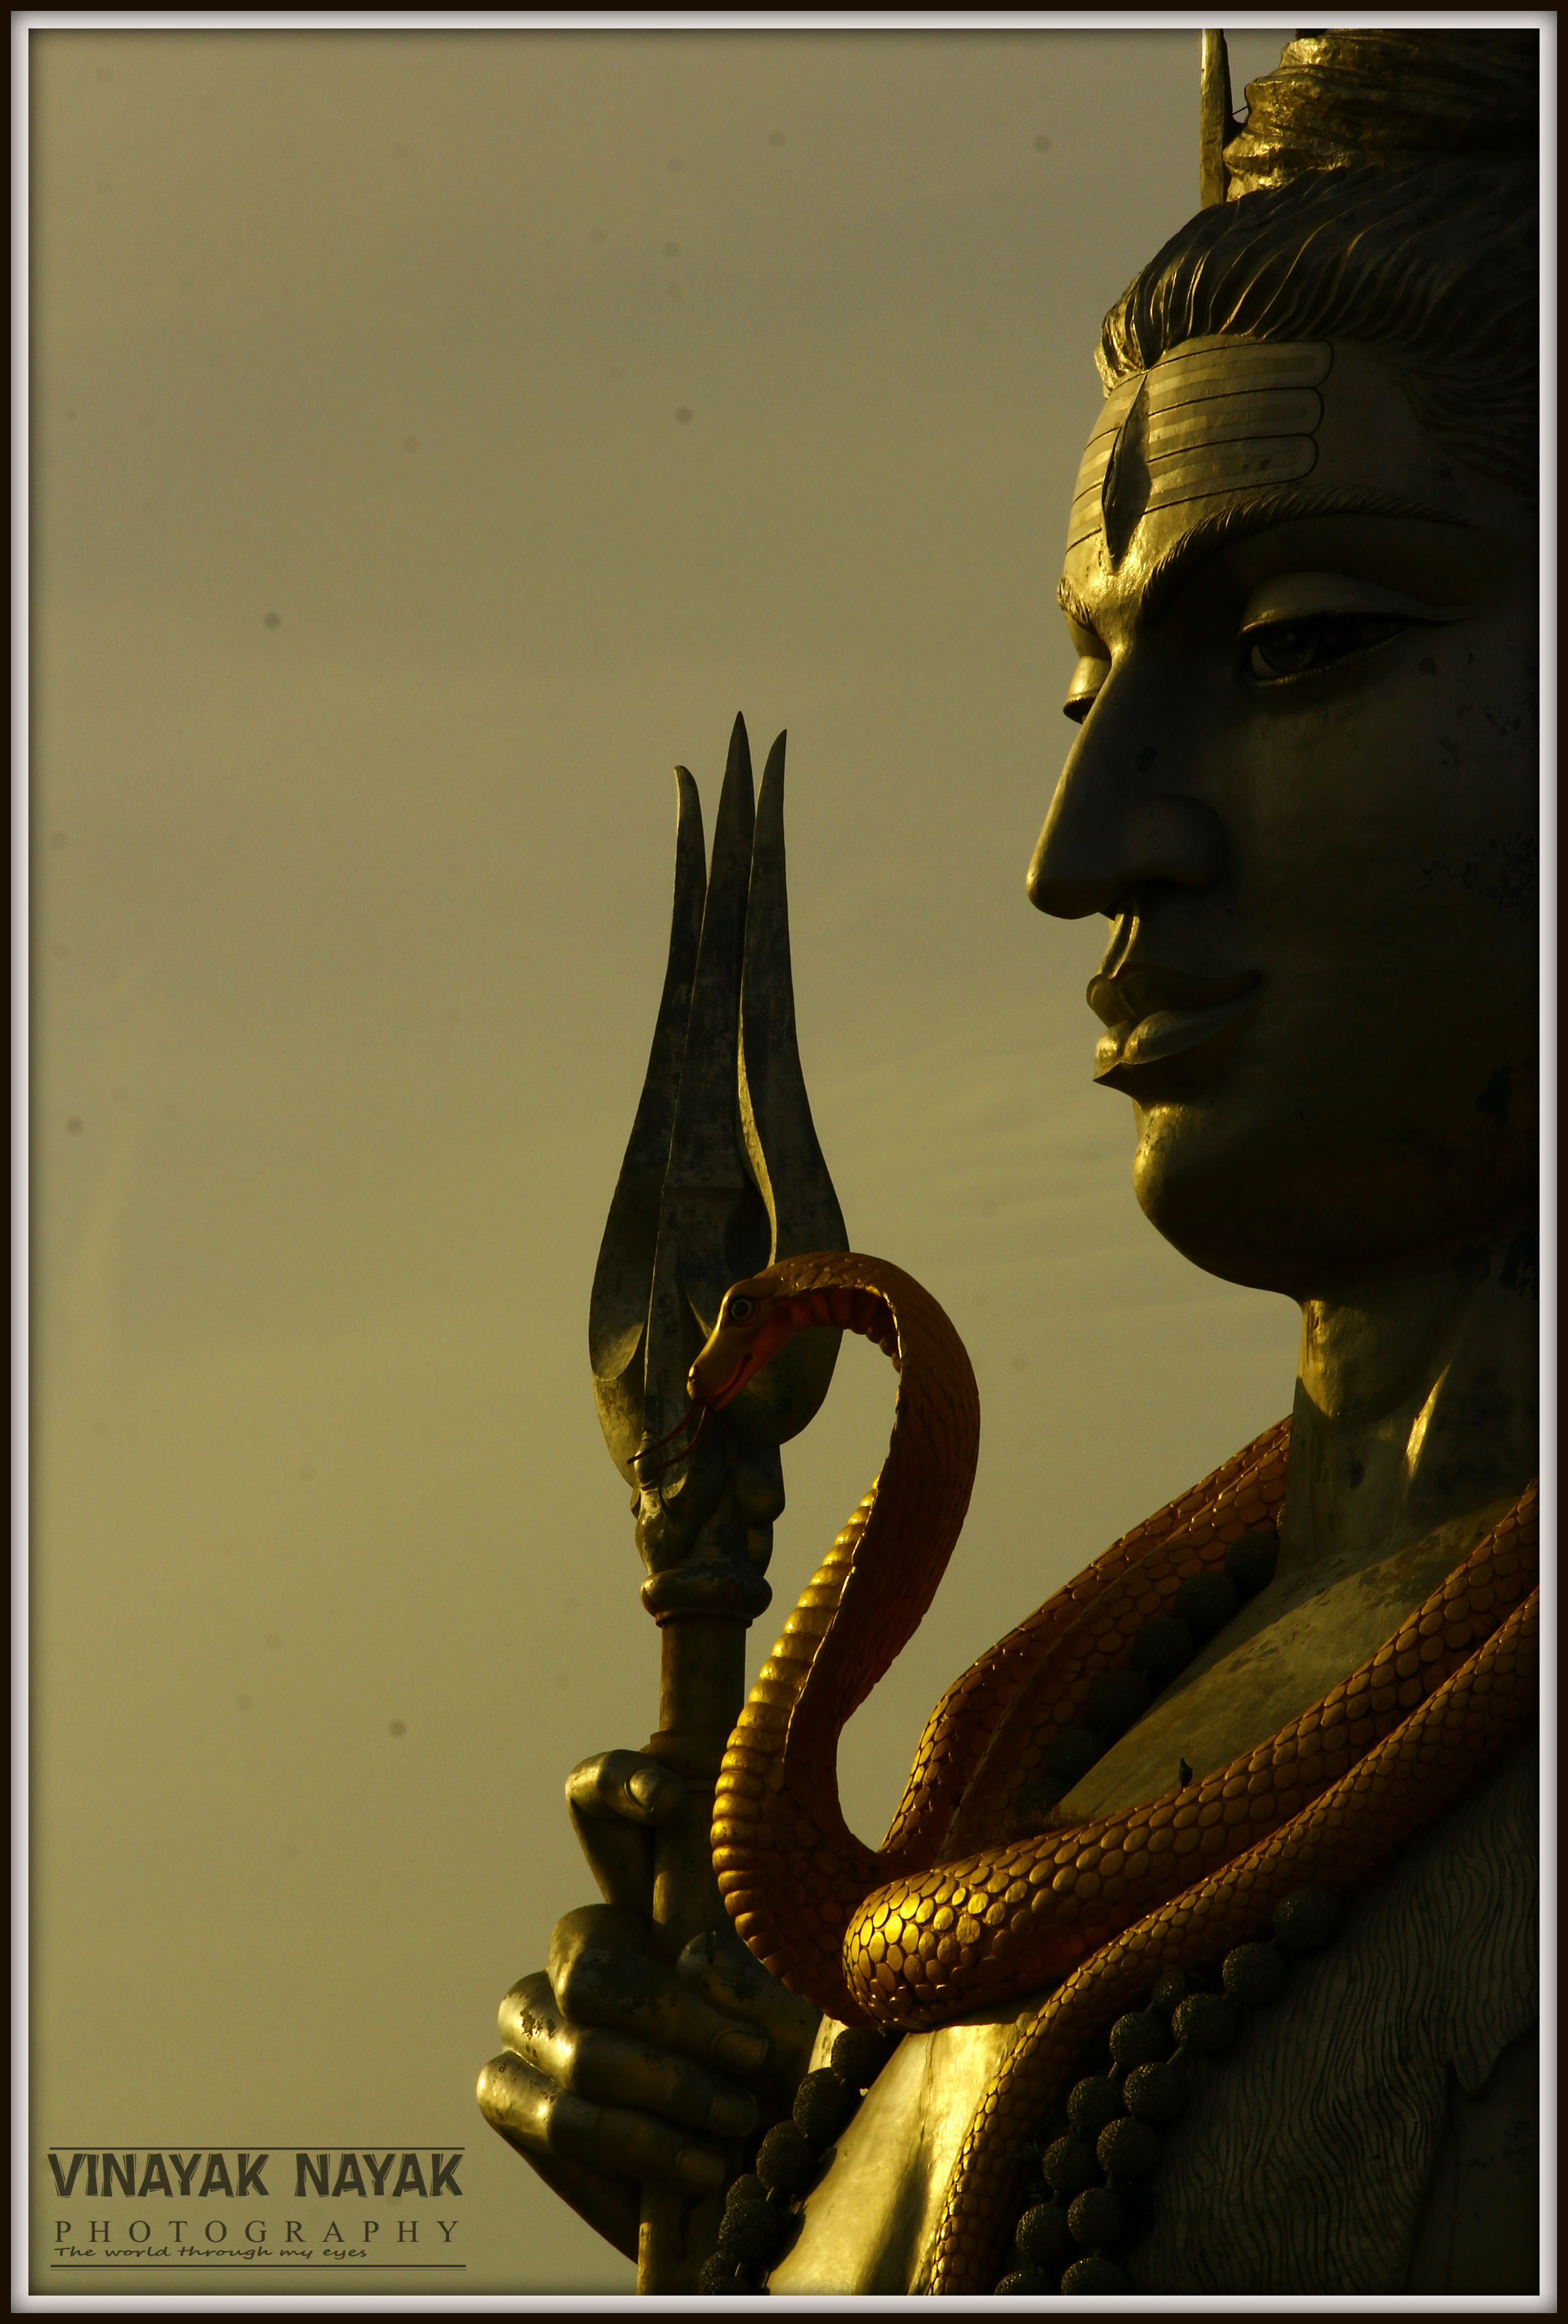
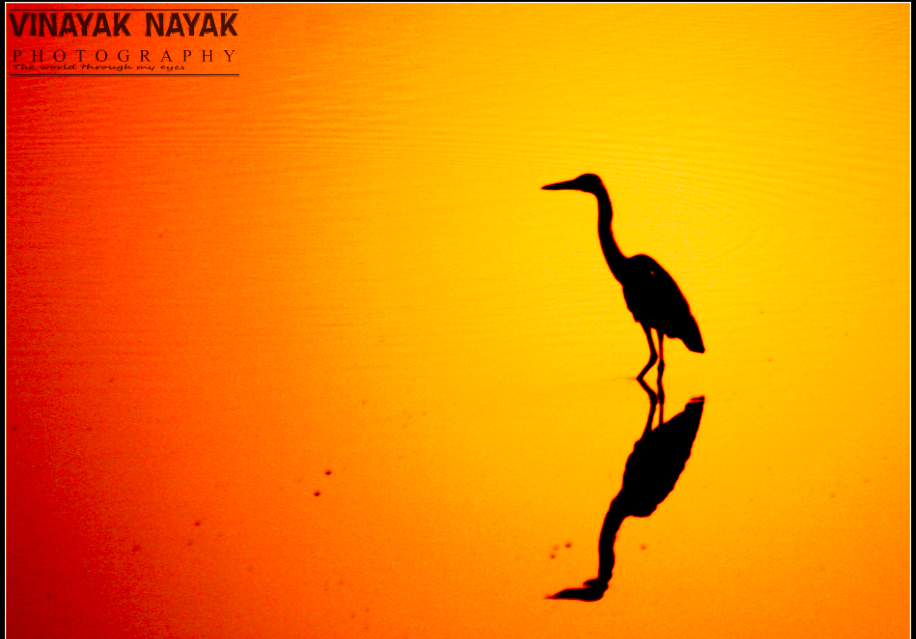
VI. Light is the breath of photography.
No light, no photography. So it is important to check where the light is coming from and how it is illuminating the subject. For example, you would have tried taking pics of a friend on a beach during a sunset and the picture comes out good with the sunset, but your friend looks really dark. to counter this you would use the flash but that would spoil the beauty of the sunset.
We will discuss on how to manage this situation with the same positioning, in my next write up but since we are speaking about framing alone, it would be better to allow the sunlight to fall on your friend when you click. There are times when you would like to have light behind the subject to create some beautiful silhouettes. (A silhouette is a pic where the subject is all darkened the rest of the frame is all filled out with light.) It gives a shadow effect which has the ability to create drama. Do u remember the fight scene between Beatrix Kiddo and O-Ren Ishii’s team when the lights go off in Kill Bill? Yes! Thats what am talking about.

VII. Try (challenge yourself?)
This one is a little tricky. This tip wouldn’t fall good for every picture but I would consider this a great idea when you go after a particular concept. To start with, many online photography contests have a theme. Instead of searching for a picture that is already in your photo library which satisfies the theme, think about the theme and frame it fresh. This would give you a lot of satisfaction and confidence in the process.
If you have any questions or if you want to have further discussions, please do not hesitate to get in touch. Do let me know, by commenting below, if you find this article useful. If you want to share the pics you took after going through this, please do so and we can have a discussion on what worked and what didn’t for you.
Was this of help? Please let us know by commenting below or sharing on any social media. We would love to share an entire photography series with you on receiving positive response.
Murudeshwar, Karnataka - An offbeat trip for culture lovers -
Tuesday 2nd of May 2017
[…] Vinayak Nayak and all the photos are clicked by him. You can find his guest post on photography, here. Did you enjoy the post? Let me know in the comments or by sharing it on social media. I’d […]
Zwitsy
Tuesday 24th of May 2016
I have been struggling on how to achieve good shots. You know these days, we do IG and it's really in if you have good shots. lol But sad to say I am still working on how to really do that one. And if I may add, thanks for sharing your tips. There are so many of it that I haven't given a try yet. I hope whenever I do, it will give me good results then.
Mrs_Daaku
Wednesday 25th of May 2016
It helped me a lot so I am hoping it will help you. Looking forward to see your pics
travelerettenyc
Monday 23rd of May 2016
Your photos are gorgeous! I wish I could take pictures like that. I consider myself much more of a writer than a photographer, but since I am a travel writer, photos are important. I am practicing thinking about all of the points you raised, especially the question of light. Thanks for sharing!
Mrs_Daaku
Tuesday 24th of May 2016
Ya. These tips have helped me a lot and Vinayak is going to do a couple of more of these so keep tuned :)
momi berlin
Monday 23rd of May 2016
No doubt he has the eye for beauty. The photos tell a story and they are all beautiful. How i wish i could do the same. Perhaps its time to apply some of his tips.
Mrs_Daaku
Monday 23rd of May 2016
Definitely. I have been applying them and seeing a difference.
nimi popat
Monday 23rd of May 2016
OMG !!! There are some stunning photos out here !!! The tips are so helpful. This is exactly what I needed right now !!! Thanks for sharing !!!
Mrs_Daaku
Monday 23rd of May 2016
Thank you. I would love to see pictures u click after implementing these quick tips :)